
The quick answer
Split lighting is one of a few fundamental portrait lighting setups. To understand how it compares to other lighting patterns, let’s take a look at the split lighting photography definition.
Split lighting stands among the essential portrait arrangements that photographers rely on across generations. Before exploring how this pattern works alongside other techniques, it helps to define exactly what the method accomplishes visually.
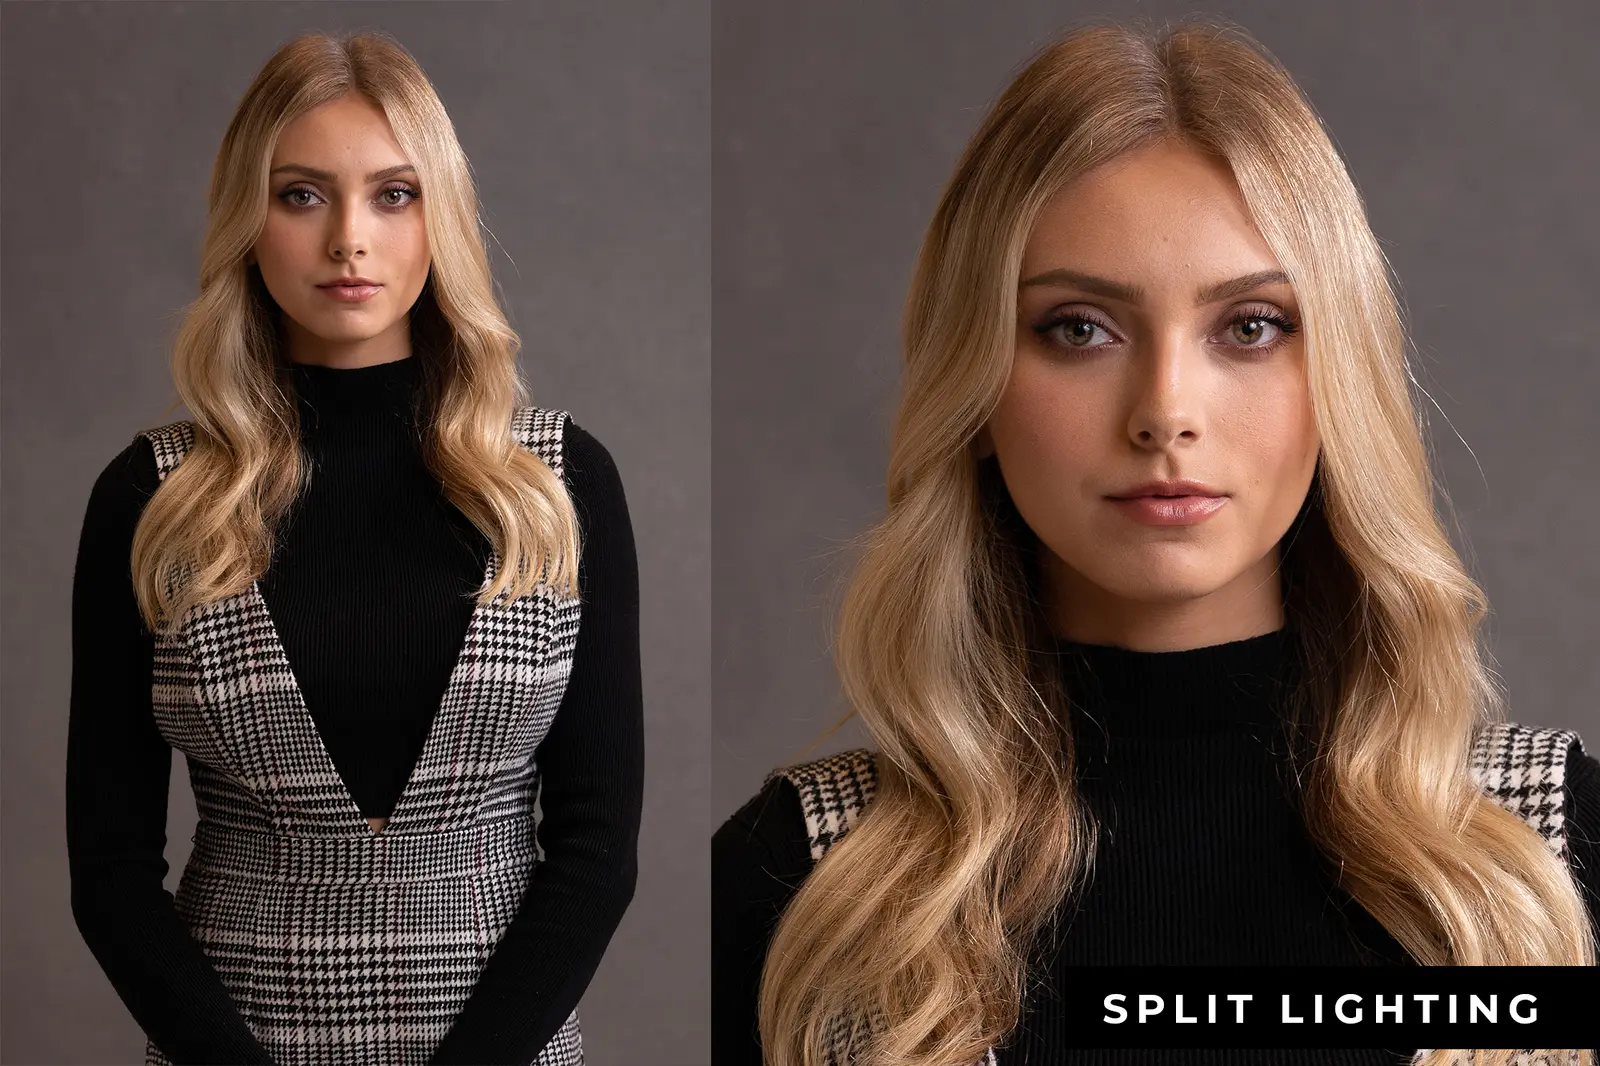
The approach positions a single illumination source at a right angle to the subject, bathing one side of the face in bright light while the opposite half drops into deep shadow. The name comes directly from that dividing line that appears to separate the subject in two.
Understanding split lighting requires viewing the term as a unified concept rather than three separate ideas. The pattern, the resulting imagery, and the gear required all connect together.
A useful film guide makes its subject clearer through specific examples, not broad labels.
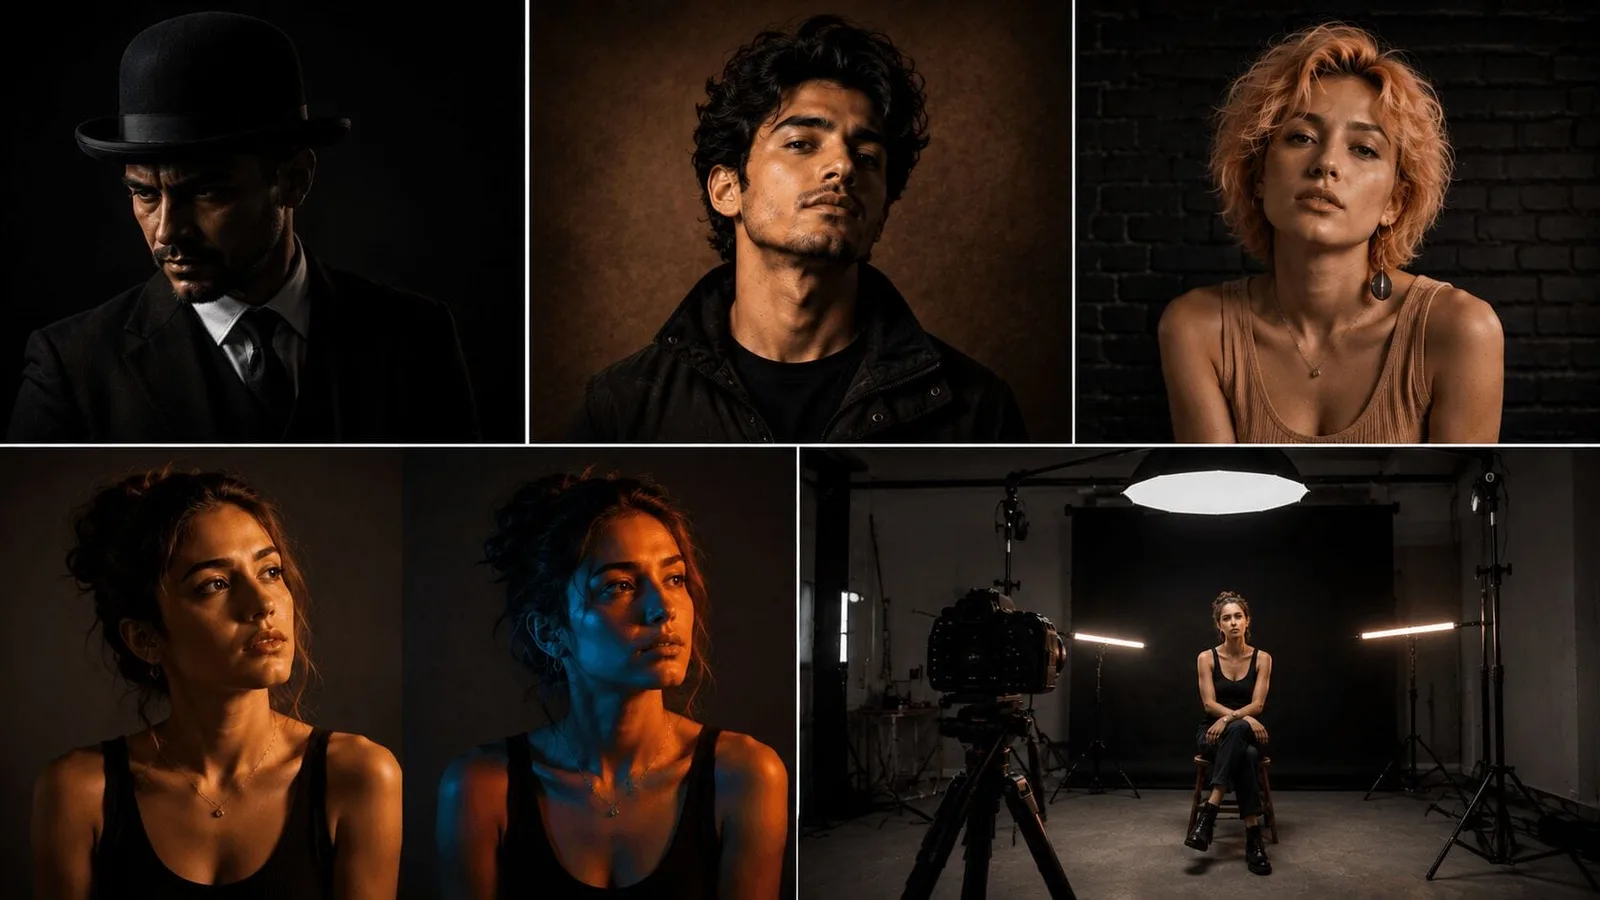
Watch the workflow
Creative Lighting Set Ups for Portrait Photography in the Studio
In today's video, we're looking at some easy creative lighting set ups for portrait photography in the studio (using the Zhiyun ...
What Makes Split Lighting Stand Apart
A strong side-facing key creates one of the most recognizable patterns in portrait photography. The dividing line between lit and dark produces an image that reads as powerful and commanding. This quality has made the technique a favorite for fashion shoots, editorial spreads, and commercial work where mood matters.
The defining characteristic is intensity. Because one side receives direct illumination and the other remains in shadow, the overall contrast ratio runs high by design. That stark difference is what gives split lighting its signature punch and makes it feel cinematic even in still images.
Side-positioned light reveals surface qualities that frontal arrangements often flatten. Skin texture, hair detail, and the natural contours of bone structure all become visible in ways that add depth and visual weight. The result can feel intense, enigmatic, or boldly confident depending on how the photographer shapes the setup.
How to Set Up Split Lighting on Set
The basic arrangement is straightforward: place your key light to one side of the subject at roughly a ninety-degree angle. The light should face the subject directly from that lateral position, not from above or below.
The first creative decision is which side of the face to illuminate. Most photographers base this choice on the subject's features—lighting the side with stronger bone structure or more interesting contour tends to produce the most compelling result. The shadow side naturally falls away, creating that classic divided appearance.
Distance between the light and the subject changes everything about the final image. Moving the source closer deepens the shadows and raises contrast; pulling it farther softens the transition between light and dark while reducing the overall intensity. Small adjustments here give you significant control over the mood.
Controlling Light Quality and Fall-Off
The character of the light source itself matters enormously. An hard, uncovered lamp will carve sharp lines and produce a abrupt shadow edge. A larger or diffused source softens that boundary while still maintaining the split pattern. Hotspots can appear on brighter areas, so understanding your modifier options helps avoid uneven exposure.
Experimenting with modifiers—softboxes, umbrellas, grids, or bare bulbs—gives you a range of outcomes from the same fundamental geometry. Each choice shifts how the light wraps around the face and how pronounced the dividing line becomes.
Watch how the light falls off as it travels from the subject. Positioning the key further away lets the shadow side retain more detail naturally, while a closer light throws the opposite side into near-black isolation. Both approaches are valid; they simply serve different creative intentions.
Practical Use Cases and Considerations
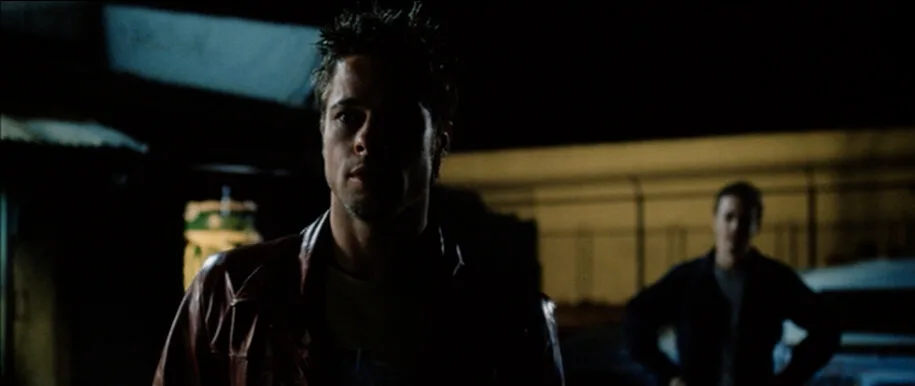
The dramatic nature of split lighting makes it a go-to for character portraits, dramatic film stills, and any situation where the goal is to suggest complexity or tension. Movies have used the pattern extensively to visually communicate internal conflict or moral ambiguity.
Narrow faces can benefit from this arrangement because the shadowed half visually compresses width. However, the same geometry can exaggerate prominent features such as a strong nose or deep cheekbones. Photographers should evaluate the subject's face before committing to the setup.
The technique works equally well for photographers on tight budgets and those with full studio rigs. A single light source is all that is required to begin, which lowers the barrier to entry significantly. As skills develop, additional modifiers and fill tools can refine the look further.
Questions Photographers Ask About Split Lighting
Can you soften the shadows while keeping the split pattern? Yes. Adding a reflector or a low-power fill light on the dark side brings back detail without destroying the defining contrast. Even a simple white board held opposite the key can bounce enough ambient light to lift the shadows slightly.
Frequently asked
How does split lighting differ from Rembrandt lighting?
The key difference lies in shadow shape and light placement. Split lighting positions the source directly to the side at roughly ninety degrees, creating a clean division between the illuminated half and the shadowed half. Rembrandt lighting places the key slightly higher and more forward, producing a small inverted triangle of light on the shadow-side cheek. Comparing the two patterns side by side makes the distinction clear—one splits the face evenly, the other carves a distinctive highlight shape.
Is split lighting flattering for all face shapes?
Not necessarily. The pattern accentuates whatever sits on the illuminated side while plunging the other half into shadow. Subjects with narrower faces often look slimmer under this arrangement, but those with strong nasal features or prominent cheekbones may find certain angles unflattering. Photographers should evaluate facial structure before choosing split lighting and be prepared to adjust the angle or add subtle fill to improve the result.
How many lights do you need for split lighting?
Only one key light is required to create the fundamental split pattern. Additional sources such as reflectors, fill lamps, or background lights can enhance the image, but they are optional. This minimal requirement makes the technique accessible for photographers working with limited equipment or on location without extensive rigging.
Can split lighting work in cinematography as well as photography?
Absolutely. The pattern appears frequently in film and television to convey drama, mystery, or psychological tension. Directors of photography use the same single-source side lighting on actors to create striking visual compositions that carry narrative weight. The technique translates seamlessly between still and motion work.
What modifier produces the sharpest split lighting effect?
An uncovered bare bulb or a small hard source like an omni or bare reflector delivers the most defined shadow edge. These modifiers produce concentrated, directional light that creates a crisp dividing line between the lit and unlit sides. Softboxes and diffusion materials will soften that boundary, which can still work but yields a less extreme contrast.